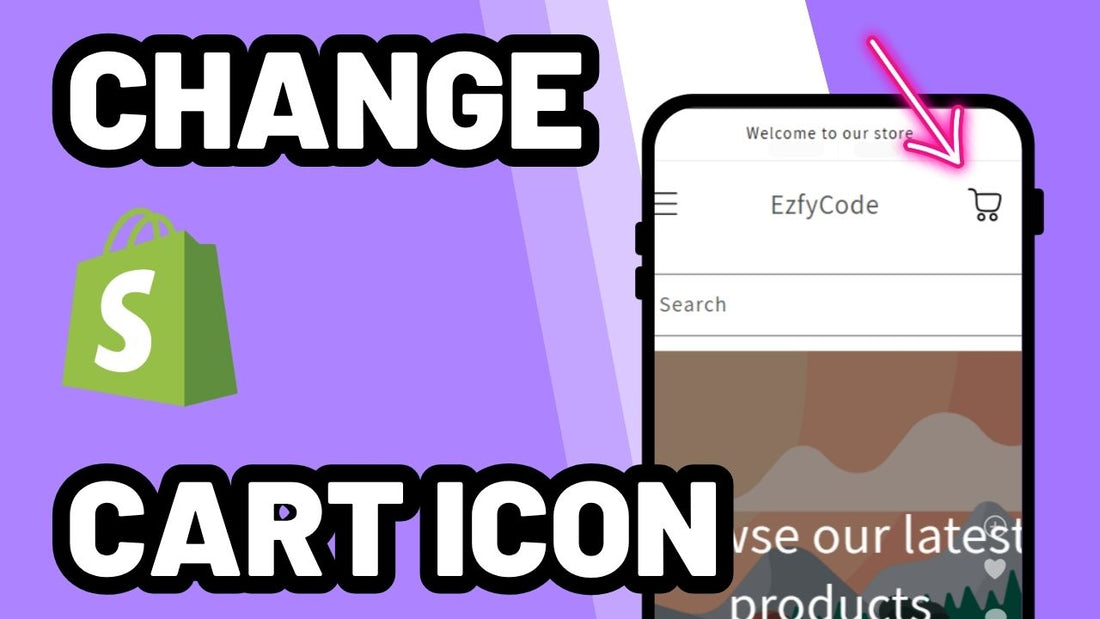
How to Replace the Default Shopify Cart Icon (No Apps)
Want to customize the cart icon on your Shopify store using the Dawn or Free themes? This step-by-step tutorial will show you exactly how to replace the default Shopify cart icon with your own SVG image - all without touching complicated logic or breaking theme functionality. Perfect for beginners and developers alike!
This tutorial is compatible only with Shopify's official free themes: Colorblock, Craft, Crave, Dawn, Origin, Publisher, Refresh, Ride, Sense, Spotlight, Studio, Taste & Trade.
Looking to install this on a premium or custom theme? Contact us.
Step 1: Prepare your SVG files
- Before anything else, make sure you’ve downloaded your preferred SVG file for the cart icon.
- If you want a different icon for an empty cart, prepare that too. If not, don’t worry - you can use the same file for both.
Step 2: Rename the default Shopify cart icons
- From your Shopify admin, go to Online Store > Themes > click the three dots next to your preferred theme > Edit code.

- In the top-left search bar, type icon-cart.

- Click on icon-cart.svg to open the file. Hover over it and click the pencil icon to rename it.
- Rename it to icon-cart-old.svg.

- Now, search for icon-cart-empty.svg, and rename it to icon-cart-empty-old.svg. Remember, if you don't have a different image for the "empty cart", you can just use the same one.


Step 3: Upload your custom cart icon SVGs
- In the left sidebar, scroll down and click on the Assets folder.
- Click on Add a new asset > upload your new SVG file. Make sure it's an actual SVG file and keep in mind the file's name, we'll need to search for it.


- After uploading, use the top-left search bar to find the file. In this case, the file's name is "cart-trolley-shop", so I'm gonna search for it.

- Click on it, then click the pencil icon to rename it to icon-cart.

- Click on Add a new asset > upload your new SVG file, this time for the empty cart icon.
Once again, if you only have one icon that is ok, just re-upload the same SVG. we'll need to search for it. Since I only have one icon file, I have re-uploaded the "cart-trolley-shop" again.
- Then search for the file's name, which is "cart-trolley-shop" in my case, click on it and hover over the file's name to see the pencil icon.
Click on it and rename it to icon-cart-empty.svg. Just like we did in the previous steps.
Step 4: Adjust cart icon size with CSS
- In the Edit Code view, search for base.css.
- Open it and scroll to the bottom.
- Add custom CSS to control the icon size:
 .header a[href*='cart'] .svg-wrapper, .header a[href*='cart'] svg{
     width: 40px !important;
     height: 40px !important;
}
 .header a[href*='cart'] svg {
     fill: rgb(var(--color-foreground)) !important;
     color: rgb(var(--color-foreground)) !important;
}
/* code below is exclusive for mobile devices */
 @media (max-width: 749px){
     .header a[href*='cart'] .svg-wrapper, .header a[href*='cart'] svg{
         width: 40px !important;
         height: 40px !important;
    }
}
Make sure the width and the height have the same value (40px in this case, but you can update to your liking). You can also replace the rgb(var(--color-foreground)) with any hex code to change the icon's color. This code will use your theme's default icon color though.
Conclusion
That’s it! You’ve successfully replaced the default cart icon on your Shopify Dawn or Free theme with your own custom SVG. This small visual tweak can make your storefront feel more personal and on-brand - and best of all, it only takes a few minutes. Whether you’re customizing for style or for functionality, this technique gives you total control over your cart icon design.