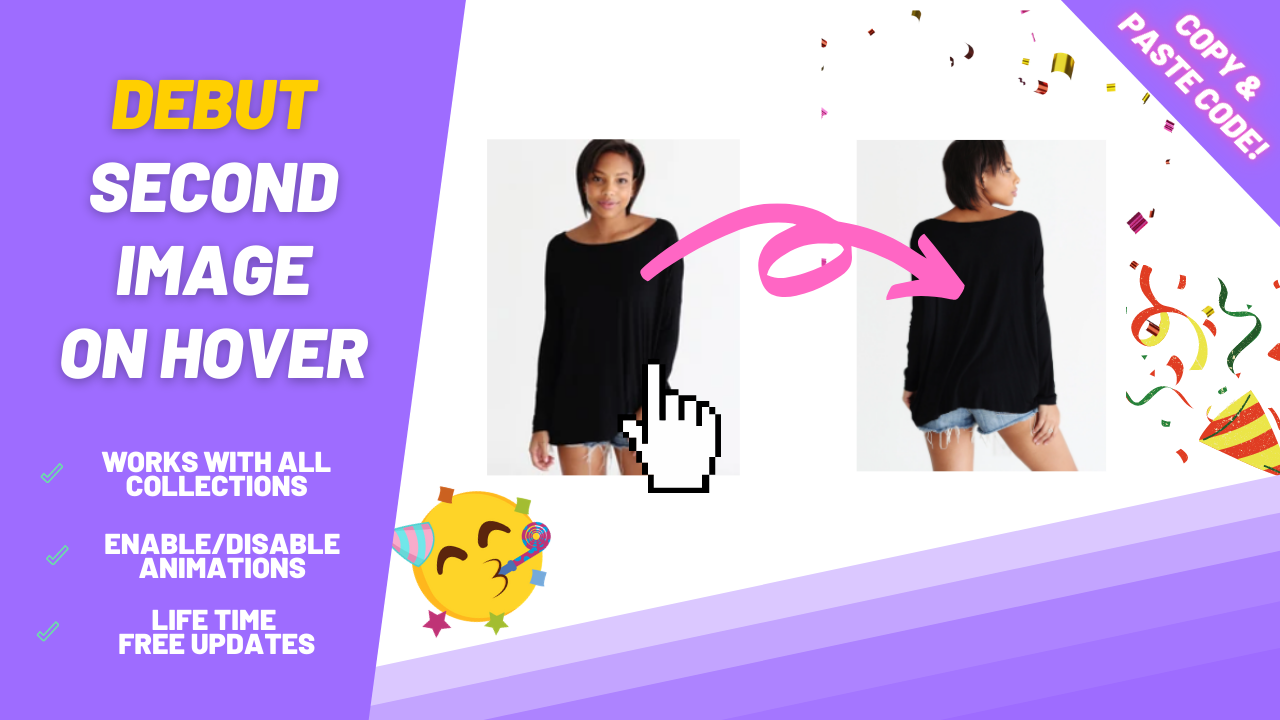
Show second image on hover on the Debut Theme

A common feature one may find in most of the premium themes is showing a second image whenever hovering over a product's thumbnail image.
Providing a simple and quick way for customers' to gather more information of the product can easily lead to greater conversion rates. With a mere mouse hover the user can decide whether that product calls their attention or not.
In addition, one particular good thing about showing more information on hover is that it is one of the “safe” type of improvements: you're not doing any abrupt changes to your theme's design, simply adding a feature that is shown only upon interaction, an “add on”. Therefore it has no negative side effects when it comes to User Experience.
In this tutorial I'll teach you step-by-step how to implement this functionality on your Debut theme.
Downloading the code files
You can download the code files clicking here. (live preview)
Complete details about them can be found here.
Making a backup of your theme
Before diving into the tutorial make sure you download the theme, so in case you face any issues you can easily revert back.
Step 1: opening the code editor
- In your Shopify admin, go to Online Store > Themes > Actions > Edit Code.
- Inside the .zip you downloaded you'll find two files:
- product-card-grid.txt
- settings_schema.txt
Step 2: updating the product-card-grid.txt file
- Open the product-card-grid.txt file and copy all the code in there.
- Now go back to your Shopify code editor and find the product-card-grid.liquid file in your theme.
- Delete everything in there and paste the code that you copied.
- Save. It should look something like this:

- Please bear in mind that this code will overwrite any previous customizations you had in this specific file.
Step 3: updating the settings_schema.txt file
- Open the settings_schema.txt file and copy all the code in there.
- In your Shopify code editor find the settings_schema.json file in your theme.
- Scroll all the way down.
- Paste the code before the last line, after the } sign, as indicated the image below.
So, for example, in the case of the image below, the code should be pasted on the line 1506 (the quantity of lines may vary depending of your theme, so don't worry if it shows a different number on yours).
Paste the code to the right of the } character that the arrow is pointing to.
- Save and you're ready to go!
Troubleshooting common issues
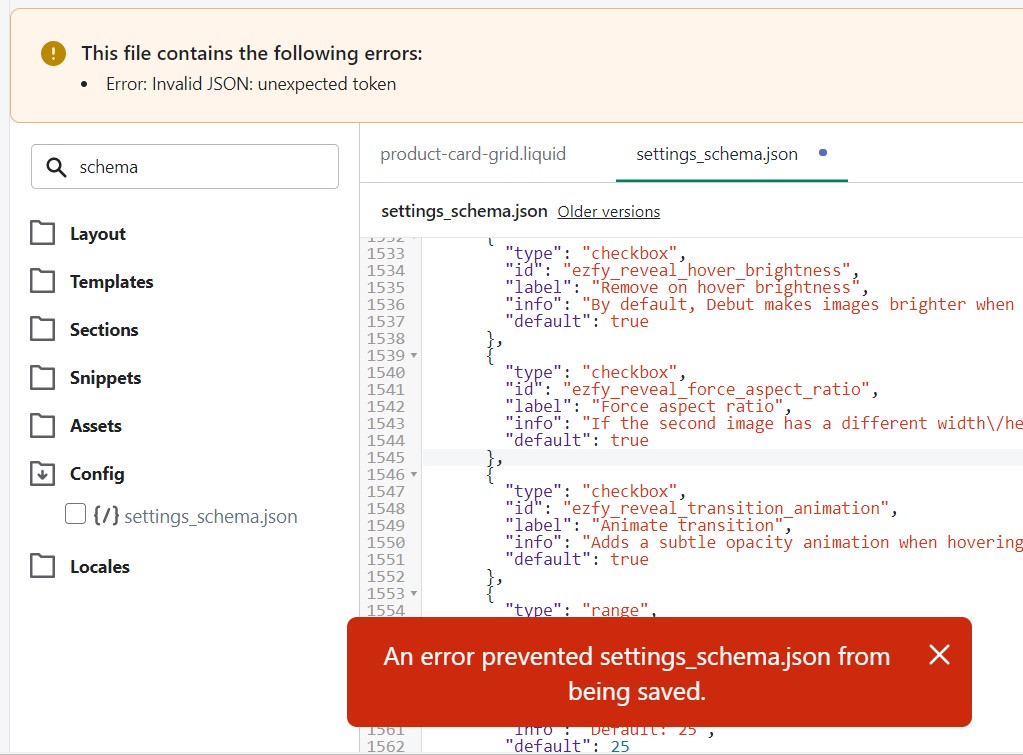
Question: It shows me an error after I edit the settings_schema.json file. What do I do?

Answer: You very likely pasted the code at the bottom of the file. Please make sure you paste the code at the penultimate (second last) line as indicated in the step 3.
Your file must end with this character: ]
If you're still facing any issues please reach out to us via ezfycode@gmail.com and we'll be more than happy to help you out!
Was this article helpful?


