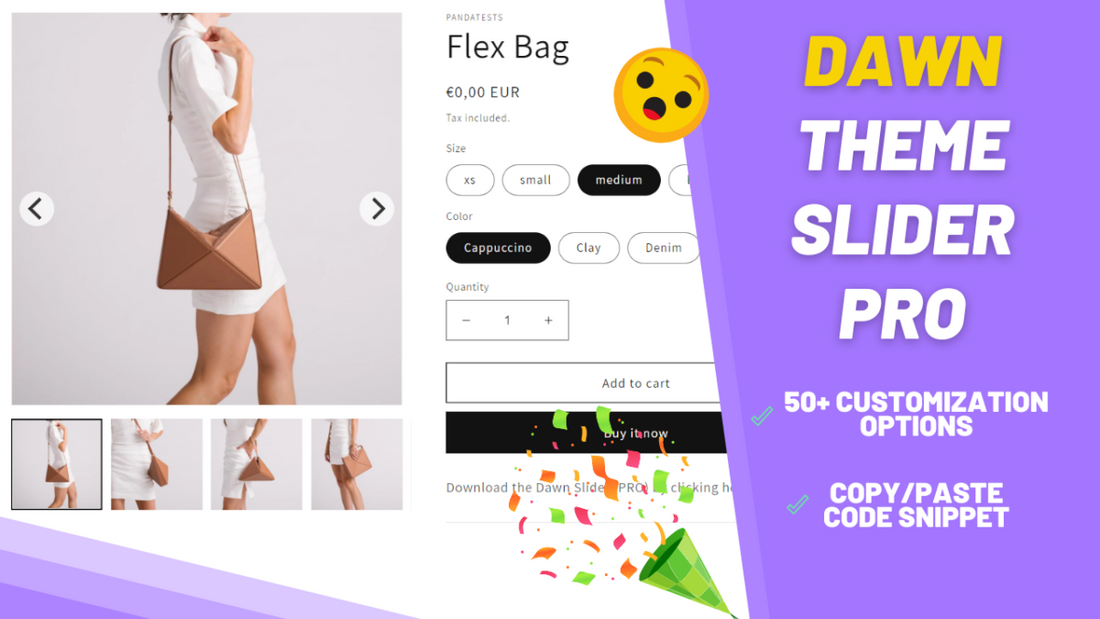
Dawn theme: vertical thumbnails with arrows for the product page images

Shortly after the release of the Online Store 2.0, which was basically Shopify's excellent update to the overall usability and user experience of the Customize page, the Dawn theme was made available for the public gaining some notoriously positive feedback.
It is no wonder though: with its elegant, modern design, and a "jQuery-less" component-based architecture implemented, the Dawn theme offers a much more performant website suitable for most types of businesses.
Anyhow, as with pretty much any other theme out there, there is still room for improvement, especially on the product page. The most obvious updates that are often discussed and requested are:
- vertical thumbnails;
- arrows;
- loop images;
- dots;
- sync swatches when images change (and vice-versa).
More importantly, while these updates can be nice, just hard coding them into the theme and having it permanently stuck there would not be of great use.
Being able to enable/disable these features to effortlessly A/B test and see what works better for the businesses is actually the ideal scenario.
Therefore, today I'll teach you how you can add these features (plus a lot more customizable options) just by pasting one piece of code. The best part is that: customizations will not be overwritten. If you have any custom code, it will still be there afterward! Also, you don't need any coding experience to do this.
Here is a live preview of what the end result will look like.
Making a backup of your theme
Before diving into the tutorial make sure you download the theme, so in case you face any issues you can easily revert back.
Downloading the files
Download the files by clicking here. (live preview)
Step 1: adding the "top" code
-
From your Shopify admin, navigate to Online Store > Themes > Actions > Edit Code.

-
Type the following on the search bar:
main-product.liquid
And open the file that is found.
-
Inside the .zip you downloaded, there will be a file called top.txt. Copy all the code inside of this file.
-
Paste the code at the beginning of your main-product.liquid file, as the image indicates.
Before:
After:
Step 2: adding the "bottom" code
-
Still inside the "main-product.liquid" file, press CTRL + F (or CMD + F on Mac) and search for:
{% schema
Make sure you include the space after %.
-
Now, delete everything below the {% schema %} line, including the {% schema %}.

-
Inside the .zip you downloaded, there will be a file called bottom.txt.
Copy all the code inside of this file and paste it at the very bottom of the file.
-
That is it!
Final step: activating and customizing the slider
-
From your Shopify admin, navigate to Online Store > Themes >Customize. Choose the theme that you just added the code to.

-
At the top, from the dropdown options, select Products> default product.

-
Once this page loads, click on Product Information on the left.

-
Scroll down to Media and activate whatever option you'd like. In this case, we'll enable the vertical thumbnails:

Something went wrong, there is a bug or I can't install it
No worries at all! We'll be more than happy to help you out.
Just please send us an email to ezfycode@gmail.com with your website URL and we'll get back to you on the same day to assist you and get it installed.
