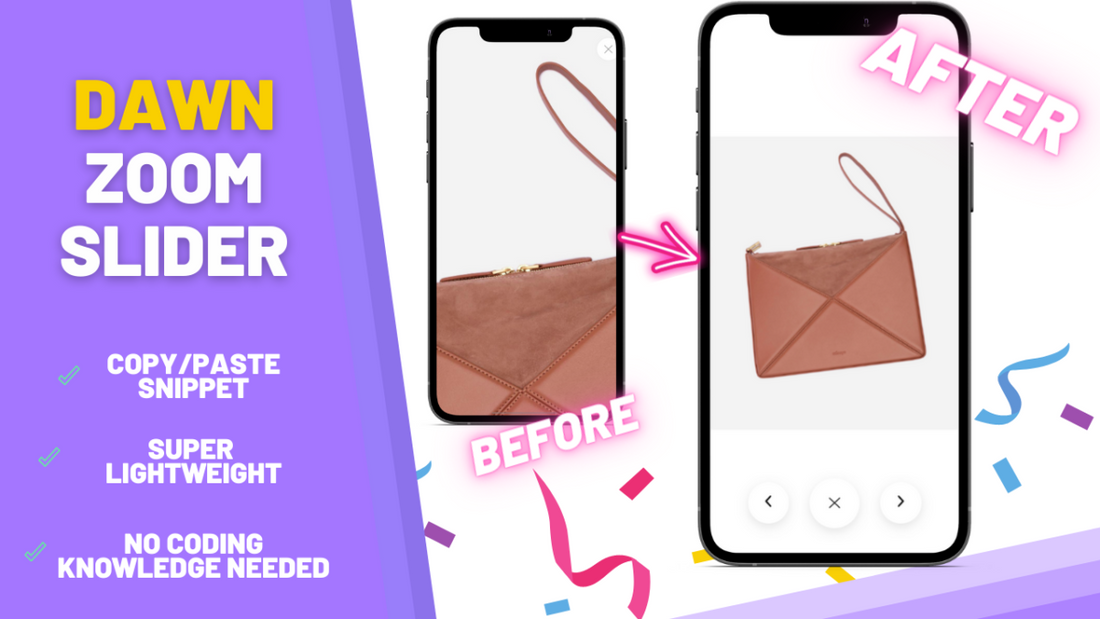
Adding arrows to zoom images on Shopify’s free themes (mobile & desktop)

The Dawn theme ships with a "click-to-zoom" button which allows users to view an enlarged version of the product images.
Although helpful, it often gets cut off especially on mobile devices. In this tutorial I'll quickly teach you how you can not only fix the size of the zoomed images size, but also add arrows to it so your users can have a more pleasant experience when viewing your product's images.
This is how the final result will look like: live preview.
Making a backup of your theme
Before diving into the tutorial make sure you download the theme, so in case you face any issues you can easily revert back.
Downloading the code files
You can download the code files clicking here. (live preview)
Copying the code
-
In your Shopify admin, go to Online Store > Themes > Actions > Edit Code.
-
Inside the .zip you downloaded you'll find the following file:
ezfy-zoom.txt
Creating the code file
-
Open the ezfy-zoom.txt file and copy all the code in there.
-
Now go back to your Shopify code editor and below Snippets click on "Add a new snippet".
Name it exactly: ezfy-zoom
-
Paste the code that you copied and click on save.

Final step: adding the code to your theme
-
Find the file named theme.liquid.
-
Inside this file, press CTRL + F (or CMD + F on Mac) and search for:
</body>
-
Paste the following code before the tag you found and save:
{% include 'ezfy-zoom' %}

That is it! You're all set. You can now test the new zoom by simply clicking on the magnifying glass icon of any of your product page images.

